I can’t see my Tours on Purchases?
For Android & iOS
- If you reached Purchases through the “Download your audio tour” button on your Booking Page, please force close the app and tap that button again.
Virtual Tour (Web Browser)
Step 1: Instructions Booking Page
- We have sent you an email containing a link to your Booking Page.
- If you made a reservation for multiple people, share that page with your travel companions.
- Each traveler will have to open the booking page from the device that they will be using to access the tour.
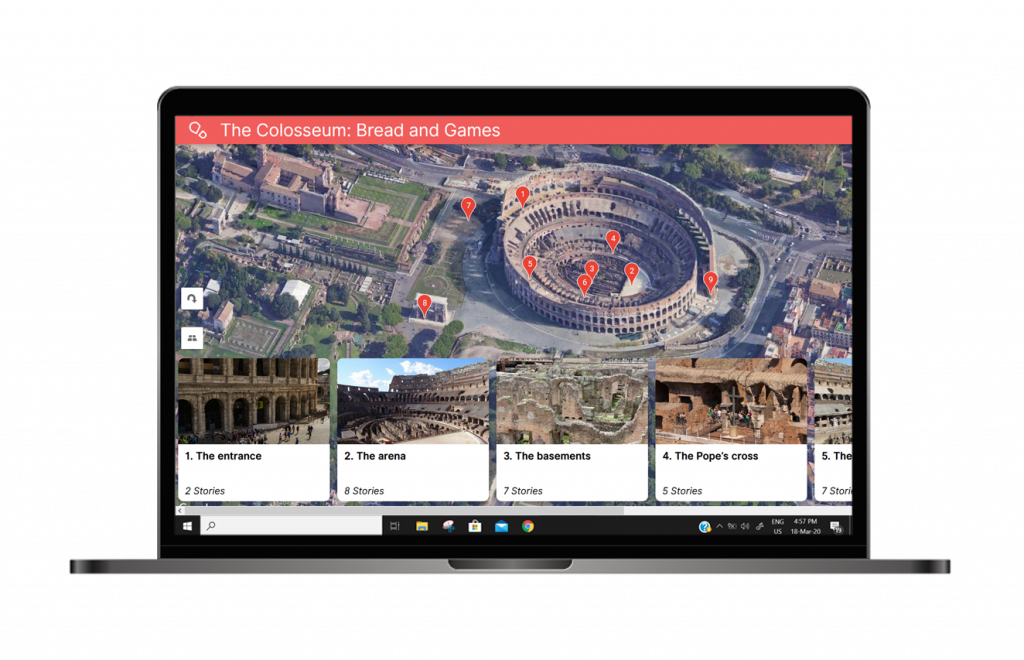
- Please read the instructions and then tap / click on the “Get your virtual tour” button.
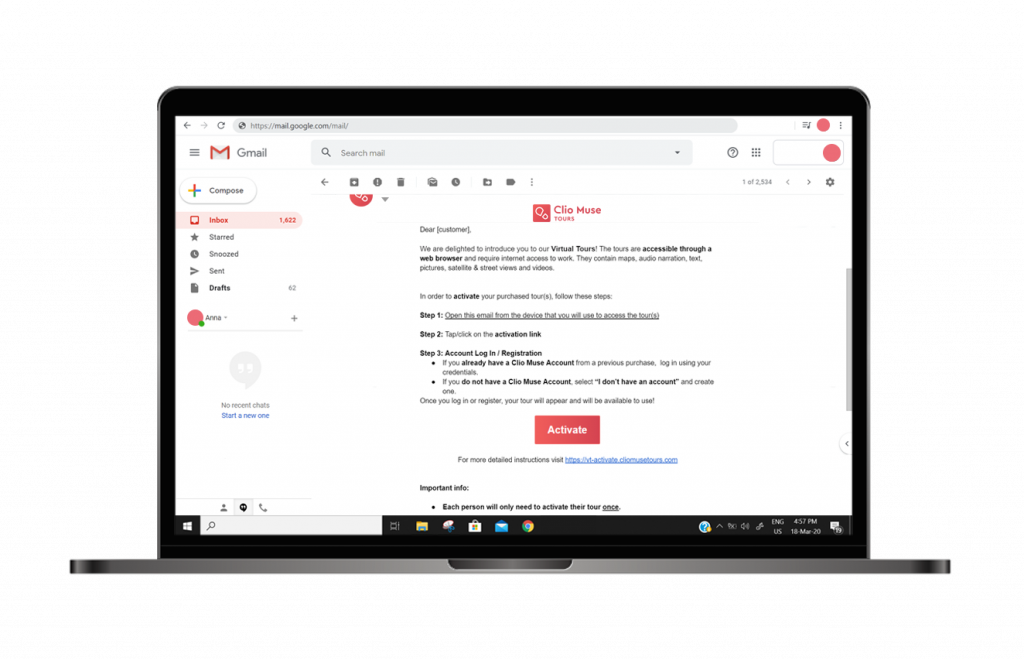
Step 2: Registering for an account
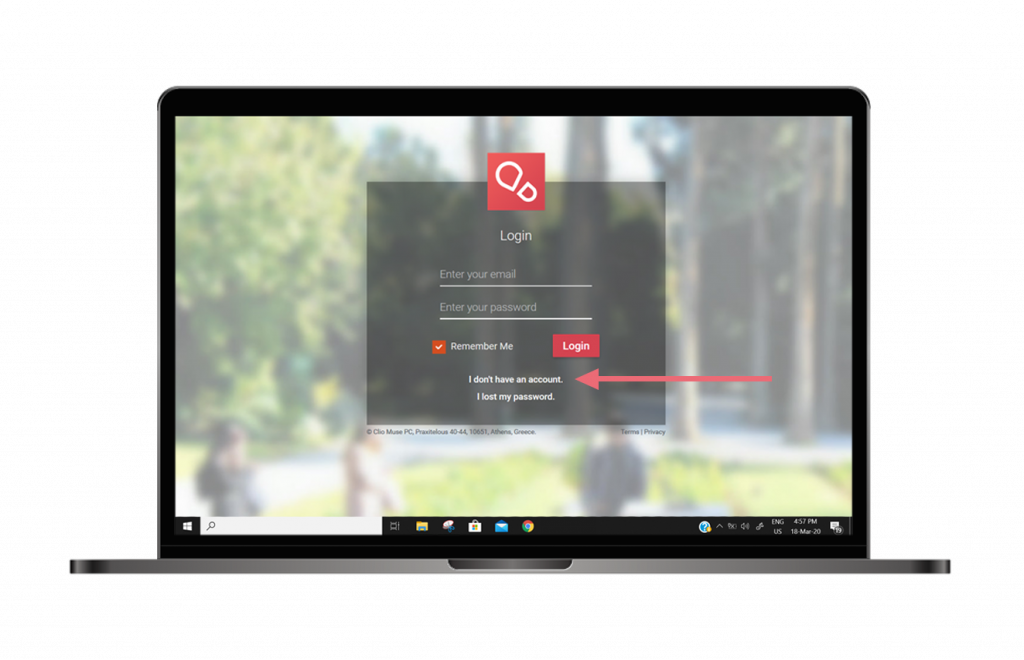
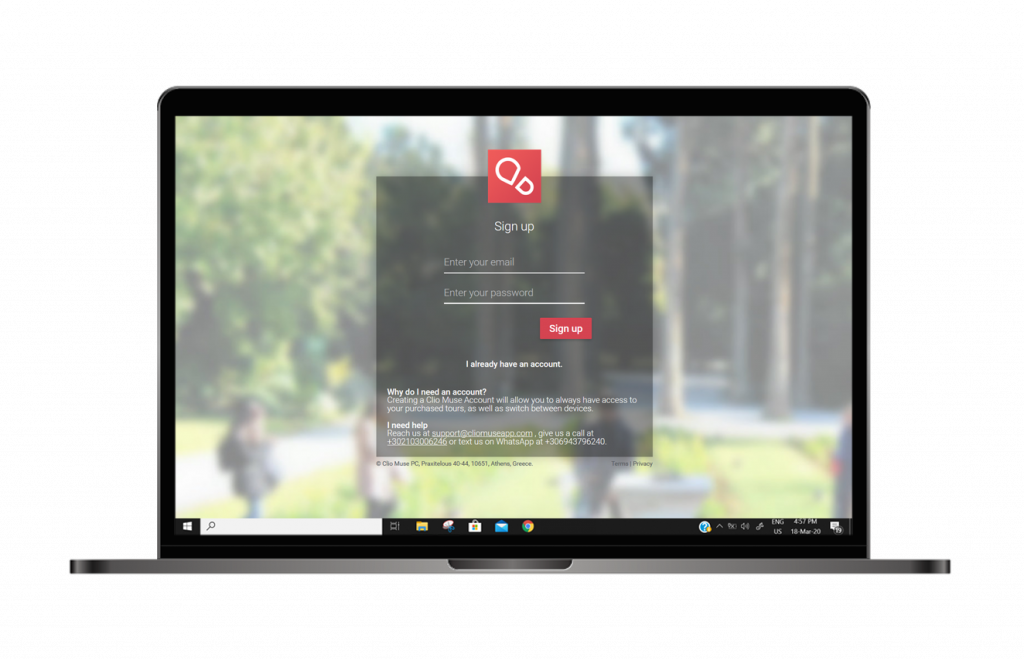
- This step only takes place the first time you click on the activation link.
- Tap/click on the “I don’t have an account” option.
- Register for a Clio Muse Account. Use your email and select a new password for your account.
Step 3: Accessing your Virtual Tour
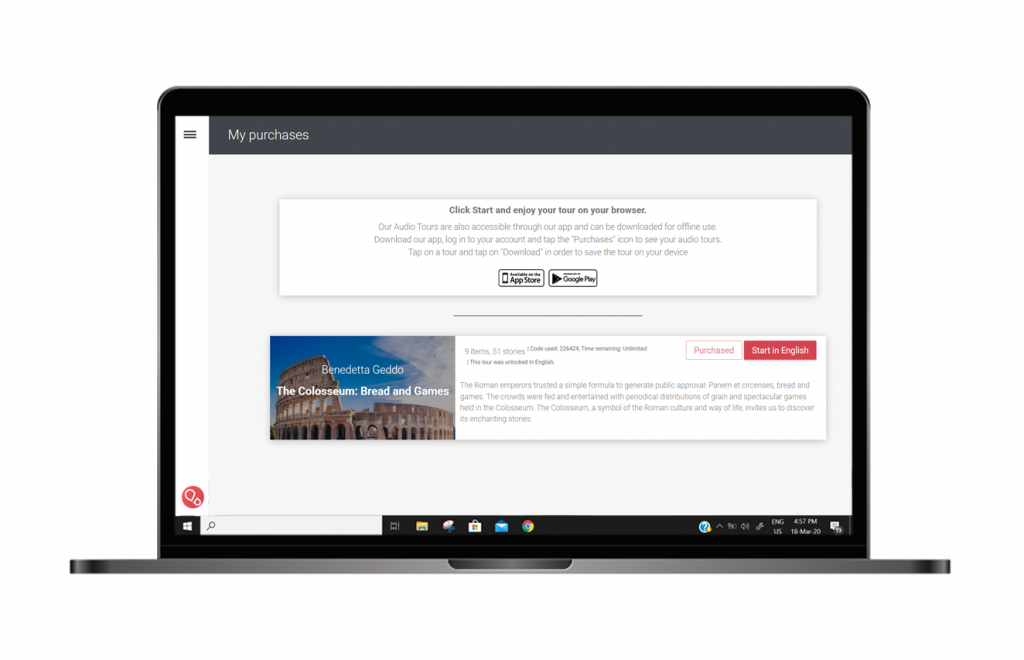
- Once you register, the page of your newly activated tour will open. In case you booked a combo product that includes multiple Virtual Tours, the “My Purchases” page will be displayed, where all of your purchased tours are listed. Tap/click on the “Start” button to start a tour.
- You can take the tour as many times as you like, anytime. Since you created a Clio Muse account, you can always find your tours here: my.cliomuseapp.com.
How can I download my purchased or a free tour on my device?
If you have purchased a tour and you want to download it to your device for offline use, you will need to:
- Launch the Clio Muse app
- Log in to your account (if you are not already logged in)
- Tap the Purchases icon
- Locate the tour that you want to download and tap on it
- Tap on the Download button
- Wait until the download is complete
- Then tap “View Tour” (iOS) or “OK” (Android)
If you want to download a free tour, then you will need to:
- Launch the Clio Muse app
- Log in to your account (if you have one), create a new one or skip the registration process
- Tap on the “Tours” icon
- Locate the tour that you want to download and tap on it
- Wait until the download is complete
- Then tap “View Tour” (iOS) or “OK” (Android)
Android Audio Tour Activation
Step 1: Instructions Booking Page
- We have sent you an email containing a link to your Booking Page.
- If you made a reservation for multiple people, share that page with your travel companions.
- Each traveler will have to open the booking page from the device that they will be using to access the tour.
- Please read the instructions and then tap on the “Download your audio tour” button.
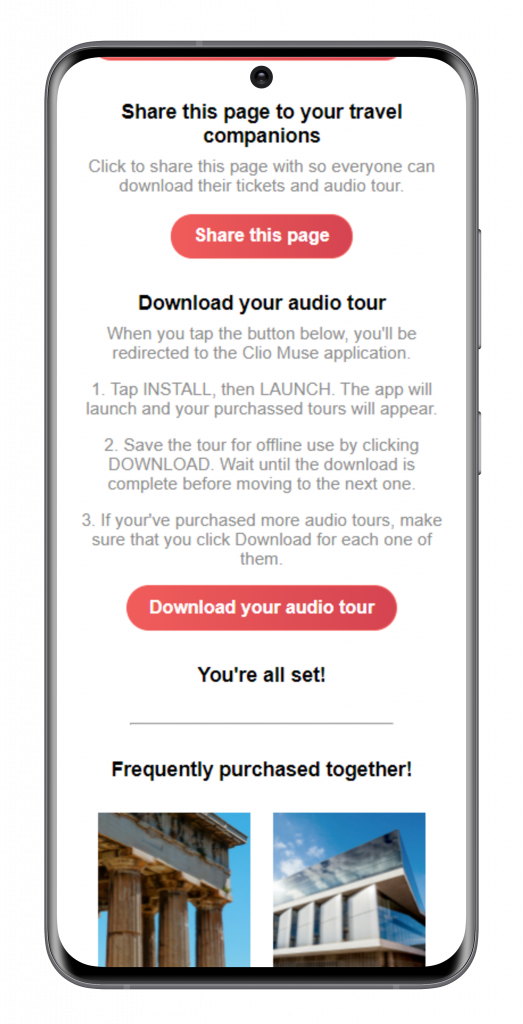
Step 2: Installing the Clio Muse app
- This step only takes place if the Clio Muse application is not installed on your device.
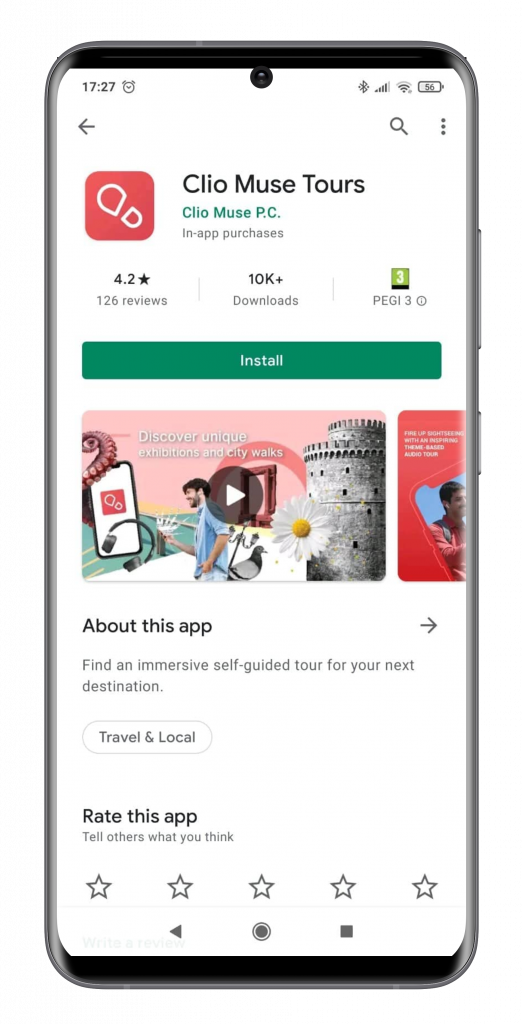
- The Google Play Store will launch.
- Our application page will open. Tap on “Install”
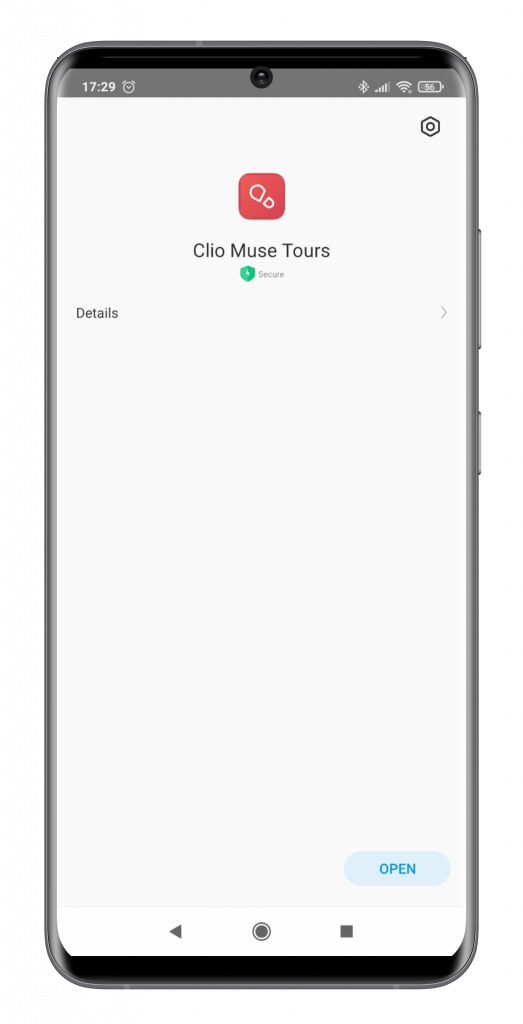
- Once the app has been installed, tap “Open” to launch it.
android audio tour activation 03
- The app will ask for permission to use your location. Please allow it. This is essential for the in-app maps to work.
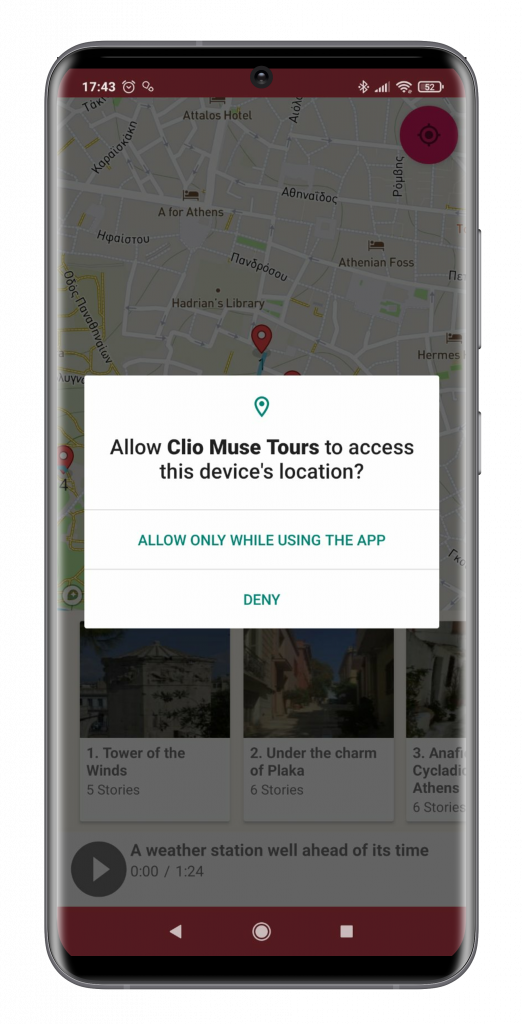
Step 3: Activating & Downloading your tour
- If the app was already installed on your device, it will launch after you tap on the activation link.
- You will see your newly activated tour.
- Make sure that you tap “Download” in order to store it on your device.
- Downloading the tour will ensure that it will work without the need for an active internet connection.
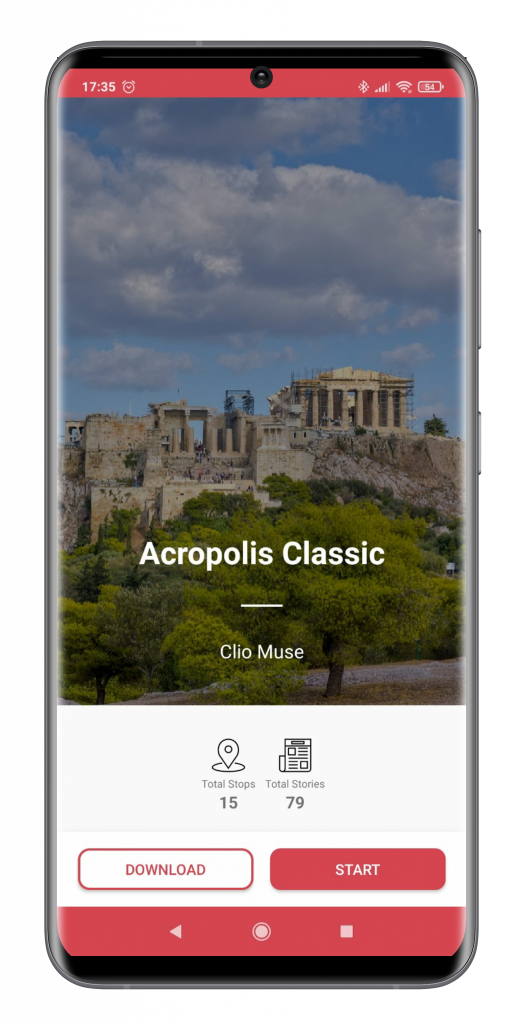
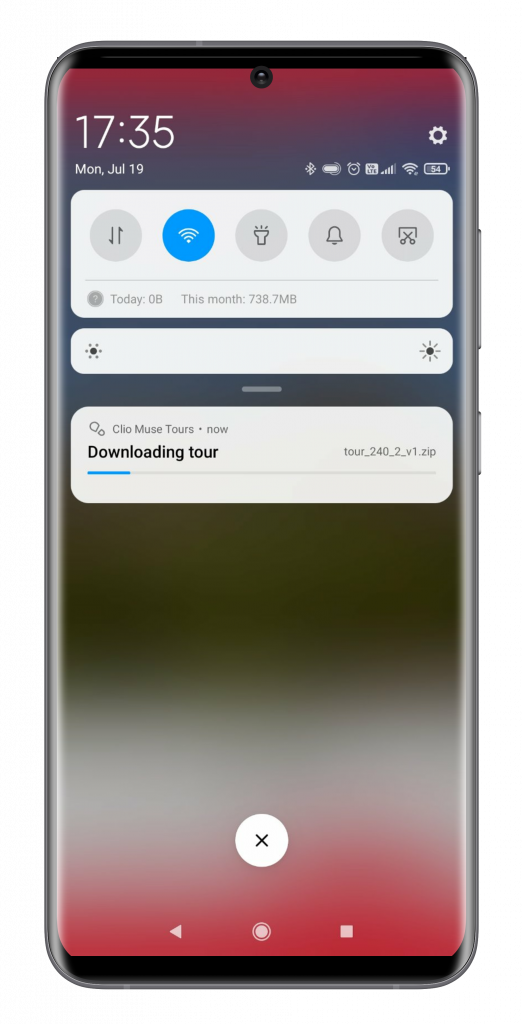
Please wait for the download to complete.
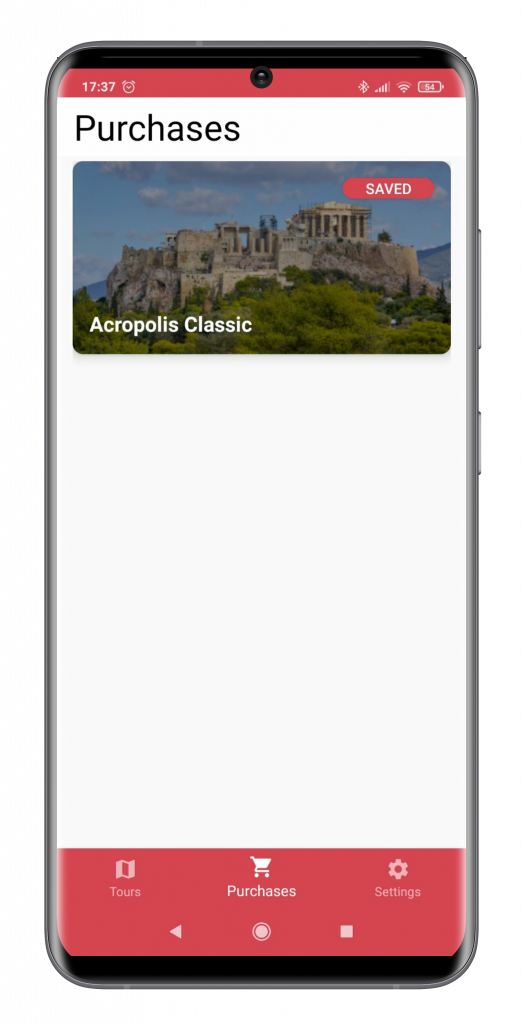
Once the download is complete, the tour is marked as Saved at the top right corner of the screen.
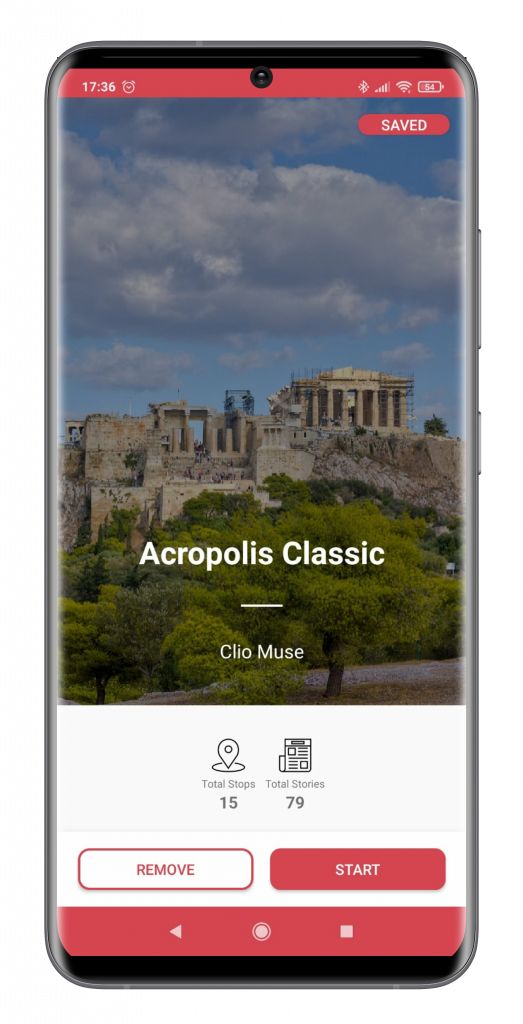
- You are ready!
- You may start using the tour right away by tapping “Start” or wait until you get to the relevant site.
- Your purchased tours are located in the “Purchases” screen of the app.
- Tap on the “Purchases” icon on the bottom left corner of the screen and you will see your purchased tours there.
iOS Audio Tour Activation
Step 1: Instructions Booking Page
- We have sent you an email containing a link to your Booking Page.
- If you made a reservation for multiple people, share that page with your travel companions.
- Each traveler will have to open the booking page from the device that they will be using to access the tour.
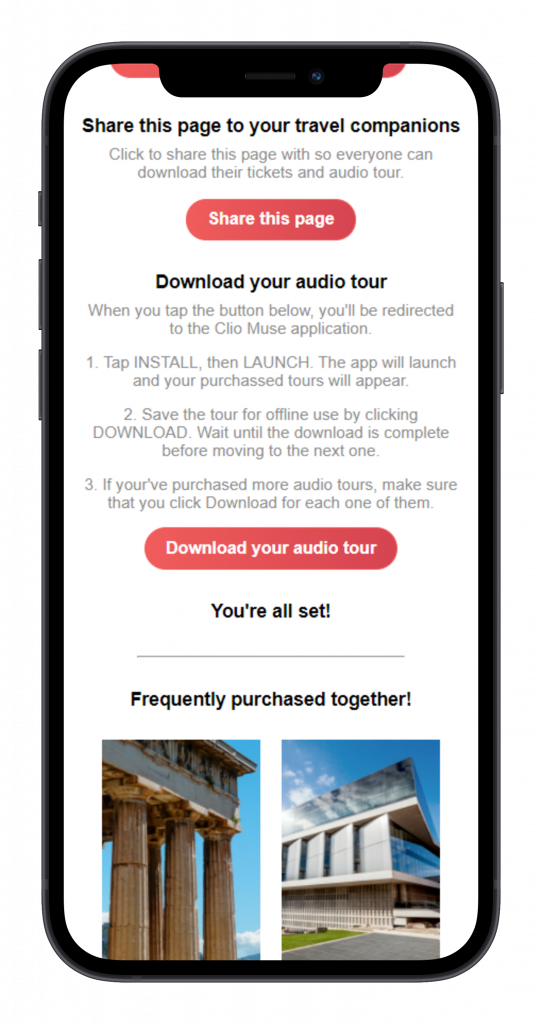
- Please read the instructions and then tap on the “Download your audio tour” button.
Step 2: Installing the Clio Muse app
- This step only takes place if the Clio Muse application is not installed on your device.
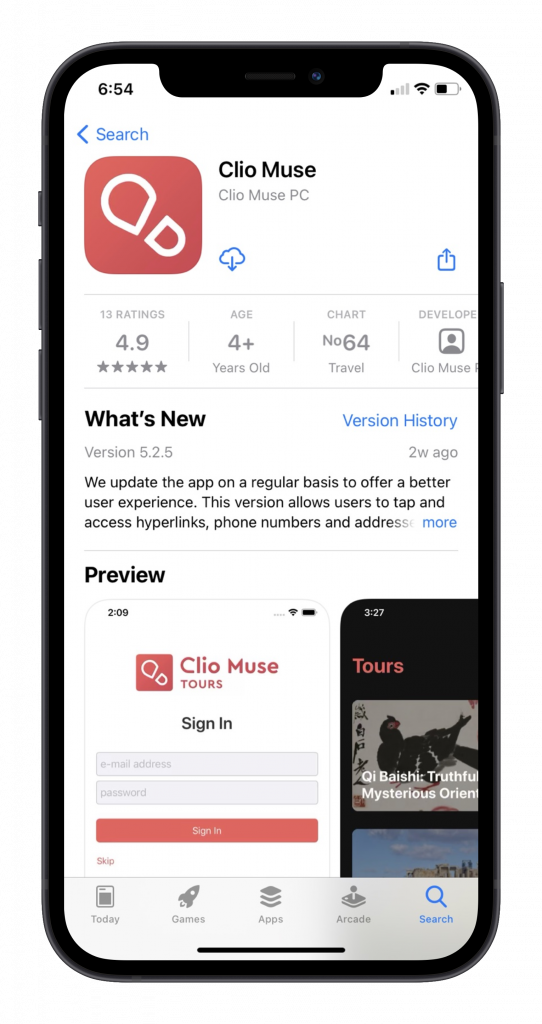
- The Apple App Store will launch.
- Our application page will open. Tap on “GET”
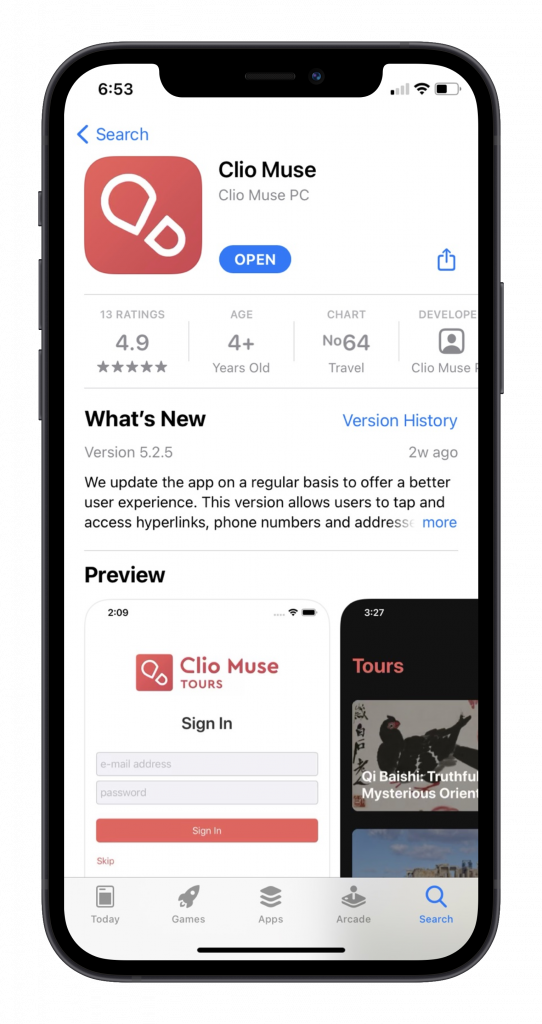
- Once the app has been installed, tap “Open” to launch it.
Step 3: Activating & Downloading your tour
- If the app was already installed on your device, it will launch after you tap on the activation link.
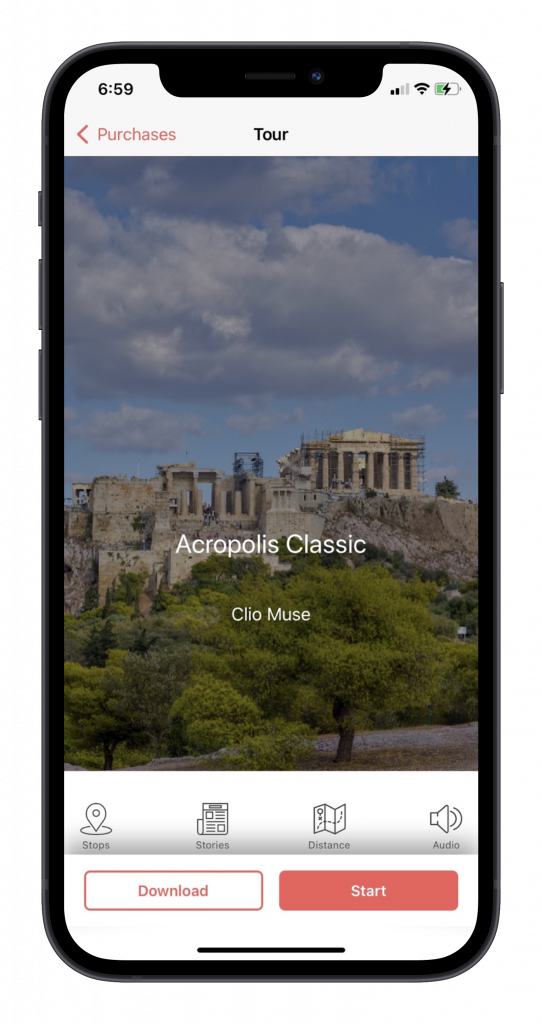
- You will see your newly activated tour.
- Make sure that you tap “Download” in order to store it on your device.
- Downloading the tour will ensure that it will work without the need for an active internet connection.
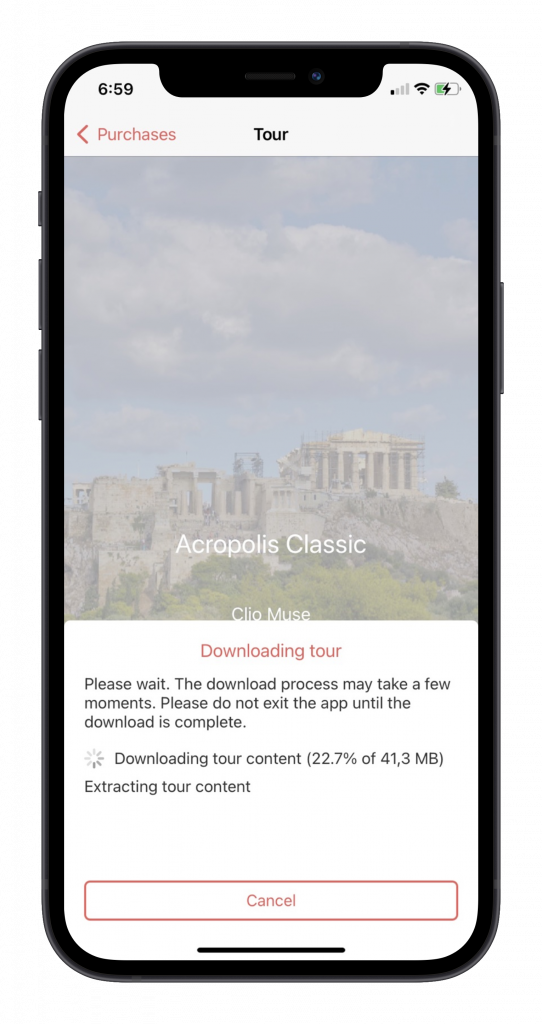
Please wait for the download to complete.
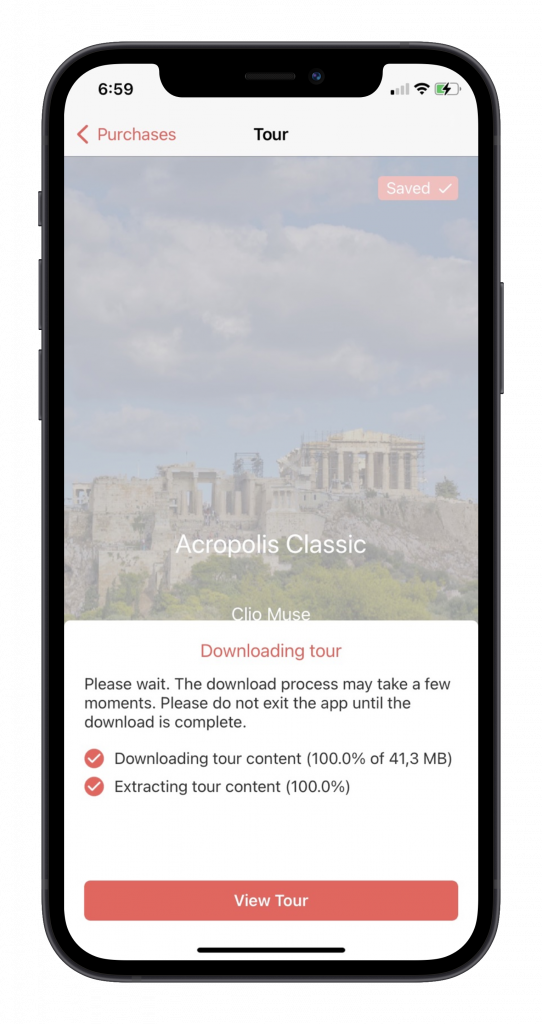
Once the download is complete, tap “View Tour”
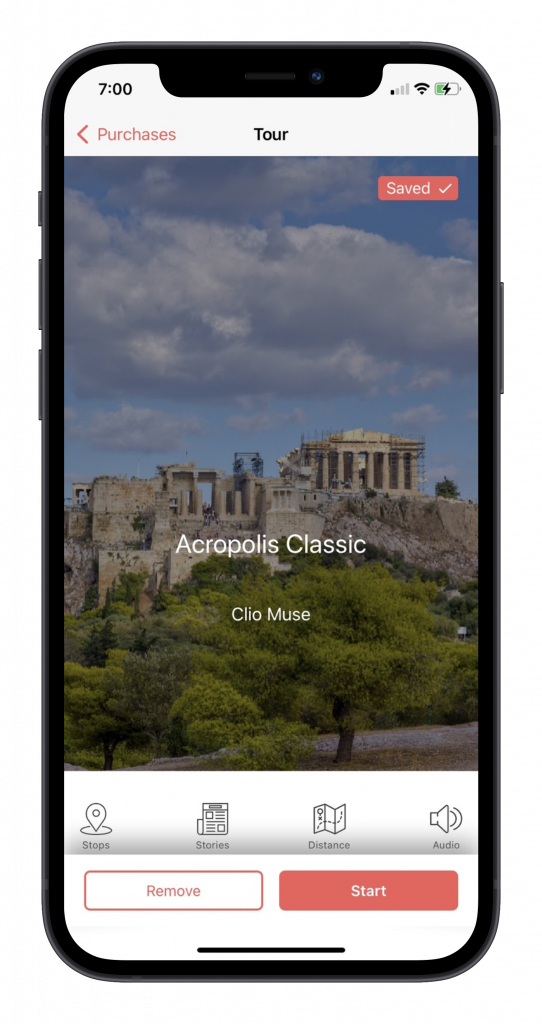
- You are ready!
- You may start using the tour right away by tapping “Start” or wait until you get to the relevant site.
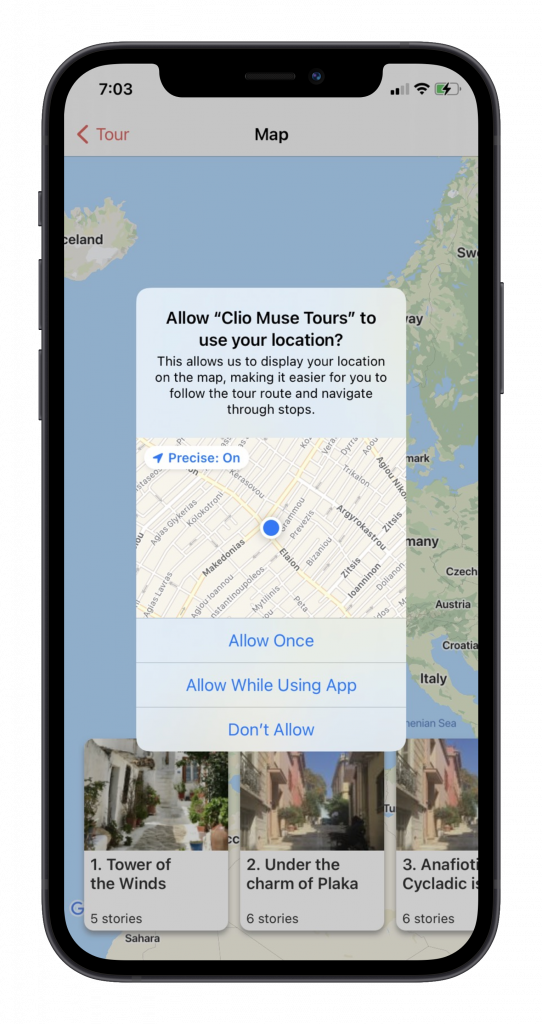
- The app will ask for permission to use your location. Please allow it. This is essential for the in-app maps to work.
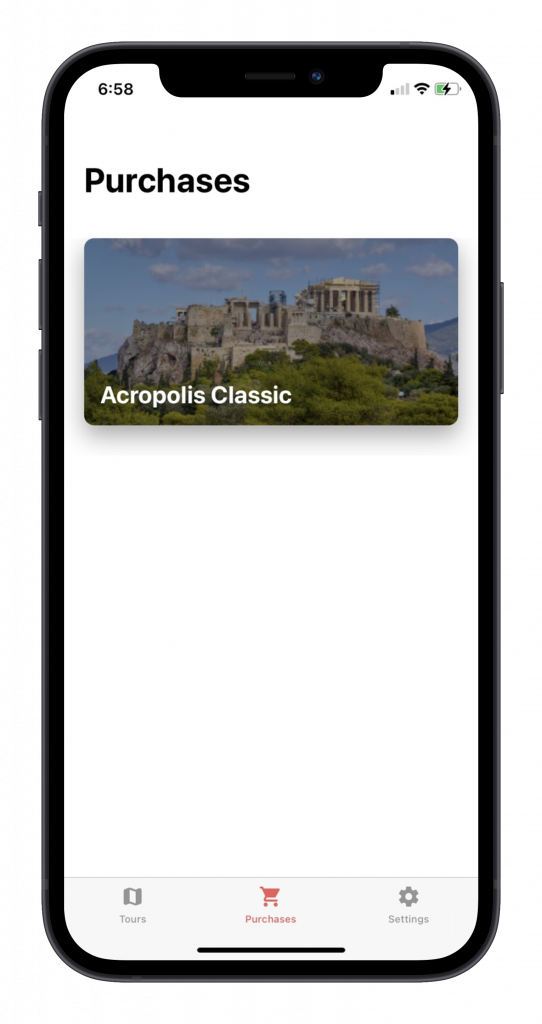
- Your purchased tours are located in the “Purchases” screen of the app.
- Tap on the “Purchases” icon on the bottom center of the screen and you will see your purchased tours there.
The audio isn’t working
For Android & iOS
- Check the silent mode. For the audio to work the SILENT MODE must be OFF. If you have an iPhone, also check the button on the side of your device that sets the silent mode and tap the upper part of the volume button to select the required ring volume.
- Please check that you have selected the language you booked the tour in, because not all tours have audio in every language. To change the language in the app, tap “ME” (bottom right on the menu), tap TOUR LANGUAGES” and choose the one you booked the tour in. The app will reload. Then tap “MY TOURS” (bottom left on the menu) and you will find your tour.
Where is my User ID?
For Android & iOS
- Launch the app.
- Tap “Skip”, or log in if you have an account.
- Tap “Settings” (bottom right on the menu).
- The Support ID on Settings screen is your User ID.
Where are my Tours?
For Android & iOS
- Launch the app.
- Tap “Skip”, or log in if you have an account.
- Tap “Purchases” (bottom center on the menu) to find them.
How do I restart the app?
For Android
- Open “Settings”.
- Tap “Apps”.
- Tap the unresponsive app.
- Tap “Force Stop”.
- Tap “Force Stop” to confirm.
- Relaunch the app.
For iPhone, iPad, and iPod touch
- Double-click the Home button to show your most recently used apps.
- Swipe right or left to find the app that you want to close.
- Swipe up on the app’s preview to close the app.
- Relaunch the app.
How do I activate my GPS?
For Android
- Swipe down from the top of the screen to open your notifications bar.
- Use Quick Settings straight away, find and tap on “Location” or “GPS”.
- If you cannot do this, go to “Settings” and find the Location section (may be under “Privacy”).
For iPhone, iPad, and iPod touch
- Go to “Settings” > “Privacy” > “Location Services”.
- Make sure that “Location Services” is on.
- Scroll down to find the app and enable the switch.


